
Okay, first I have to say… HOW ABOUT THEM PACKERS?? Wasn’t that an awesome Super Bowl to watch? I was all decked out in my green and gold, complete with my Cheesehead hat and watched the game with a bunch of other Packers fan friends, so I had a blast. I had never before been able to root for a team I like in such a big game, so it was really exciting to be a part of all the excitement that day. Go Pack Go!
_____
Now that I’ve said that… onto the topic of this post. I know it’s a long one, so feel free to skip down to view previous posts. 🙂
After I wrote my first “How I Shoot” post where I asked for ideas for future topics, I got a lot of emails with great ideas, but the most common request was that I touch on my post-processing. So, I took a while to get to this post because it’s actually quite a daunting task to write about how I process images… Not because what I do is so complicated, but I’ve been teaching Photoshop for 5 years now and I know that everyone uses Photoshop differently, not to mention some are newer to Photoshop, while others are pros. So, my goal with this post is simply to give you an overview of how I approach processing my images, without trying to make this a lesson in how to use Photoshop… and hopefully it as at least somewhat helpful to some of you. 🙂
Let me preface this post by saying that when I first started shooting about 8 years ago, I often took a shot I knew wasn’t perfect (exposure, composition, etc.) and instead of correcting my settings and retaking the shot, I’d say to myself “Oh, I’ll just fix it in post.” I have to say, that was the absolute worst way to approach photography and I definitely learned my lesson after too many hours spent fixing something in post that could have been corrected in seconds while shooting.
So, if you’re new to photography or you still find yourself fixing too many things in post that could have been corrected easily in camera, my first piece of advice about post-processing is to not rely on it to fix a bad photo. I love to use post-processing to enhance a good image, not to fix a bad one.
Also, I’d like to mention that over the years I’ve had a few different styles of post-processing and I’ve finally found a style that I really love. I still like to experiment with different looks from time to time because I’m a creative person and need to try new things to feel inspired. But for the most part, I’ve found the look I like and that completes the vision I have for my wedding and portrait images. Of course, this will probably change over time…
Here’s the breakdown of how I process images. Remember, I’m not saying that I do things the best way- I’m sure other people have better systems or approaches to processing, but the following is what works for me. 🙂
Proessing the RAW Files
First, I shoot all RAW. Second, I make sure images are as close to perfect exposure and composition in-camera so I don’t have that much to fix once I start processing. I use the same setting when recording photo or video footage with trail camera as well.
For processing, I simply use Bridge for viewing (though I have used PhotoMechanic in the past and will probably switch back to that soon) and then use Adobe Camera RAW for processing. I don’t use Lightroom. I tried it when the first version was released a few years ago and was sorely disappointed with it’s speed and color output. Though I’m sure it has improved since then (I’ve heard from many photographers that they love it), I’m so comfortable with my workflow that I don’t feel the need to change it. In fact, outside of the implementation of Mitrefinch TMS software to manage my team better, I haven’t really upgraded my workflow process in a while. Whether it is Camera Raw, Lightroom or Aperture, they all have pros and cons and it’s just a matter of finding out what works best for you.
Once inside Camera Raw, I find that I typically adjust 3 main things most frequently: white balance, fill light and contrast. So, I have created my own Camera Raw presets that I use to make these adjustments on every image. (Each shoot can vary quite a bit in the adjustments needed, so I sometimes create a new preset to process a given shoot if one of my pre-existing presets doesn’t do the trick.) It’s pretty easy to create a preset in Camera Raw, but this link may be helpful if you’d like more info. 🙂 – NOTE: In my busiest times of the year, I outsource my RAW processing to Colorati. They are a great company with great customer service and I love handing files over to them in my busier times so I don’t get overloaded with RAW processing and can spend more time doing other things for my clients and business.
Once all the color correction, fill light and contrast adjustments are done, I save all the images as JPGs in a new “Edited” folder for each shoot. (Note, I also adjust slight things about composition in Camera Raw if necessary to make sure horizontal and vertical lines in an image are running the way they are supposed to.) From there, I select my favorite images from each session to give some extra Photoshop lovin’ that I’ll use for the blog post.
Retouching and Using Actions
Each of these images will get some minor retouching. My favorite retouching tools are the Patch and Healing Brush tools (I find these are the best for correcting complexions). Then, I use the Pro Retouch action from Totally Rad Actions. This is a great action, but you have to be careful not to use it too heavily. I use a 30% opacity brush, and typically reduce the opacity of the Retouch mask layer to about 50% before I flatten the image so that the improvement is subtle and not obvious.
Then I apply either my custom color action, or 1 of my 2 custom black and white actions.
I only have 1 color action that I run on almost all of my color photos and it is a custom action that I have made by combining some Totally Rad Actions and ColorShift actions, along with some custom tweaks I made to some of the adjustment layers that those actions create. I have two black and white custom actions that are also both made up of Totally Rad and ColorShift actions with custom tweaks. One is a low-contrast black and white, and the other is for high-contrast. I like both looks and use one or the other depending on the image and the feel I want the image to have.
It took me a while to find the combination of my favorite actions that I liked to run on every image… but I like that I can use these 3 customized actions on nearly every shoot I do. Because I made so many custom tweaks, I’m unable to say which actions I specifically used to create the custom actions. So instead I recommend you just play around with different looks and see which adjustments you prefer for your style of imagery. 🙂
For sharpening, I will either use Kubota’s Magic Sharp, or Totally Rad’s Slice Like a Ninja with a low opacity.
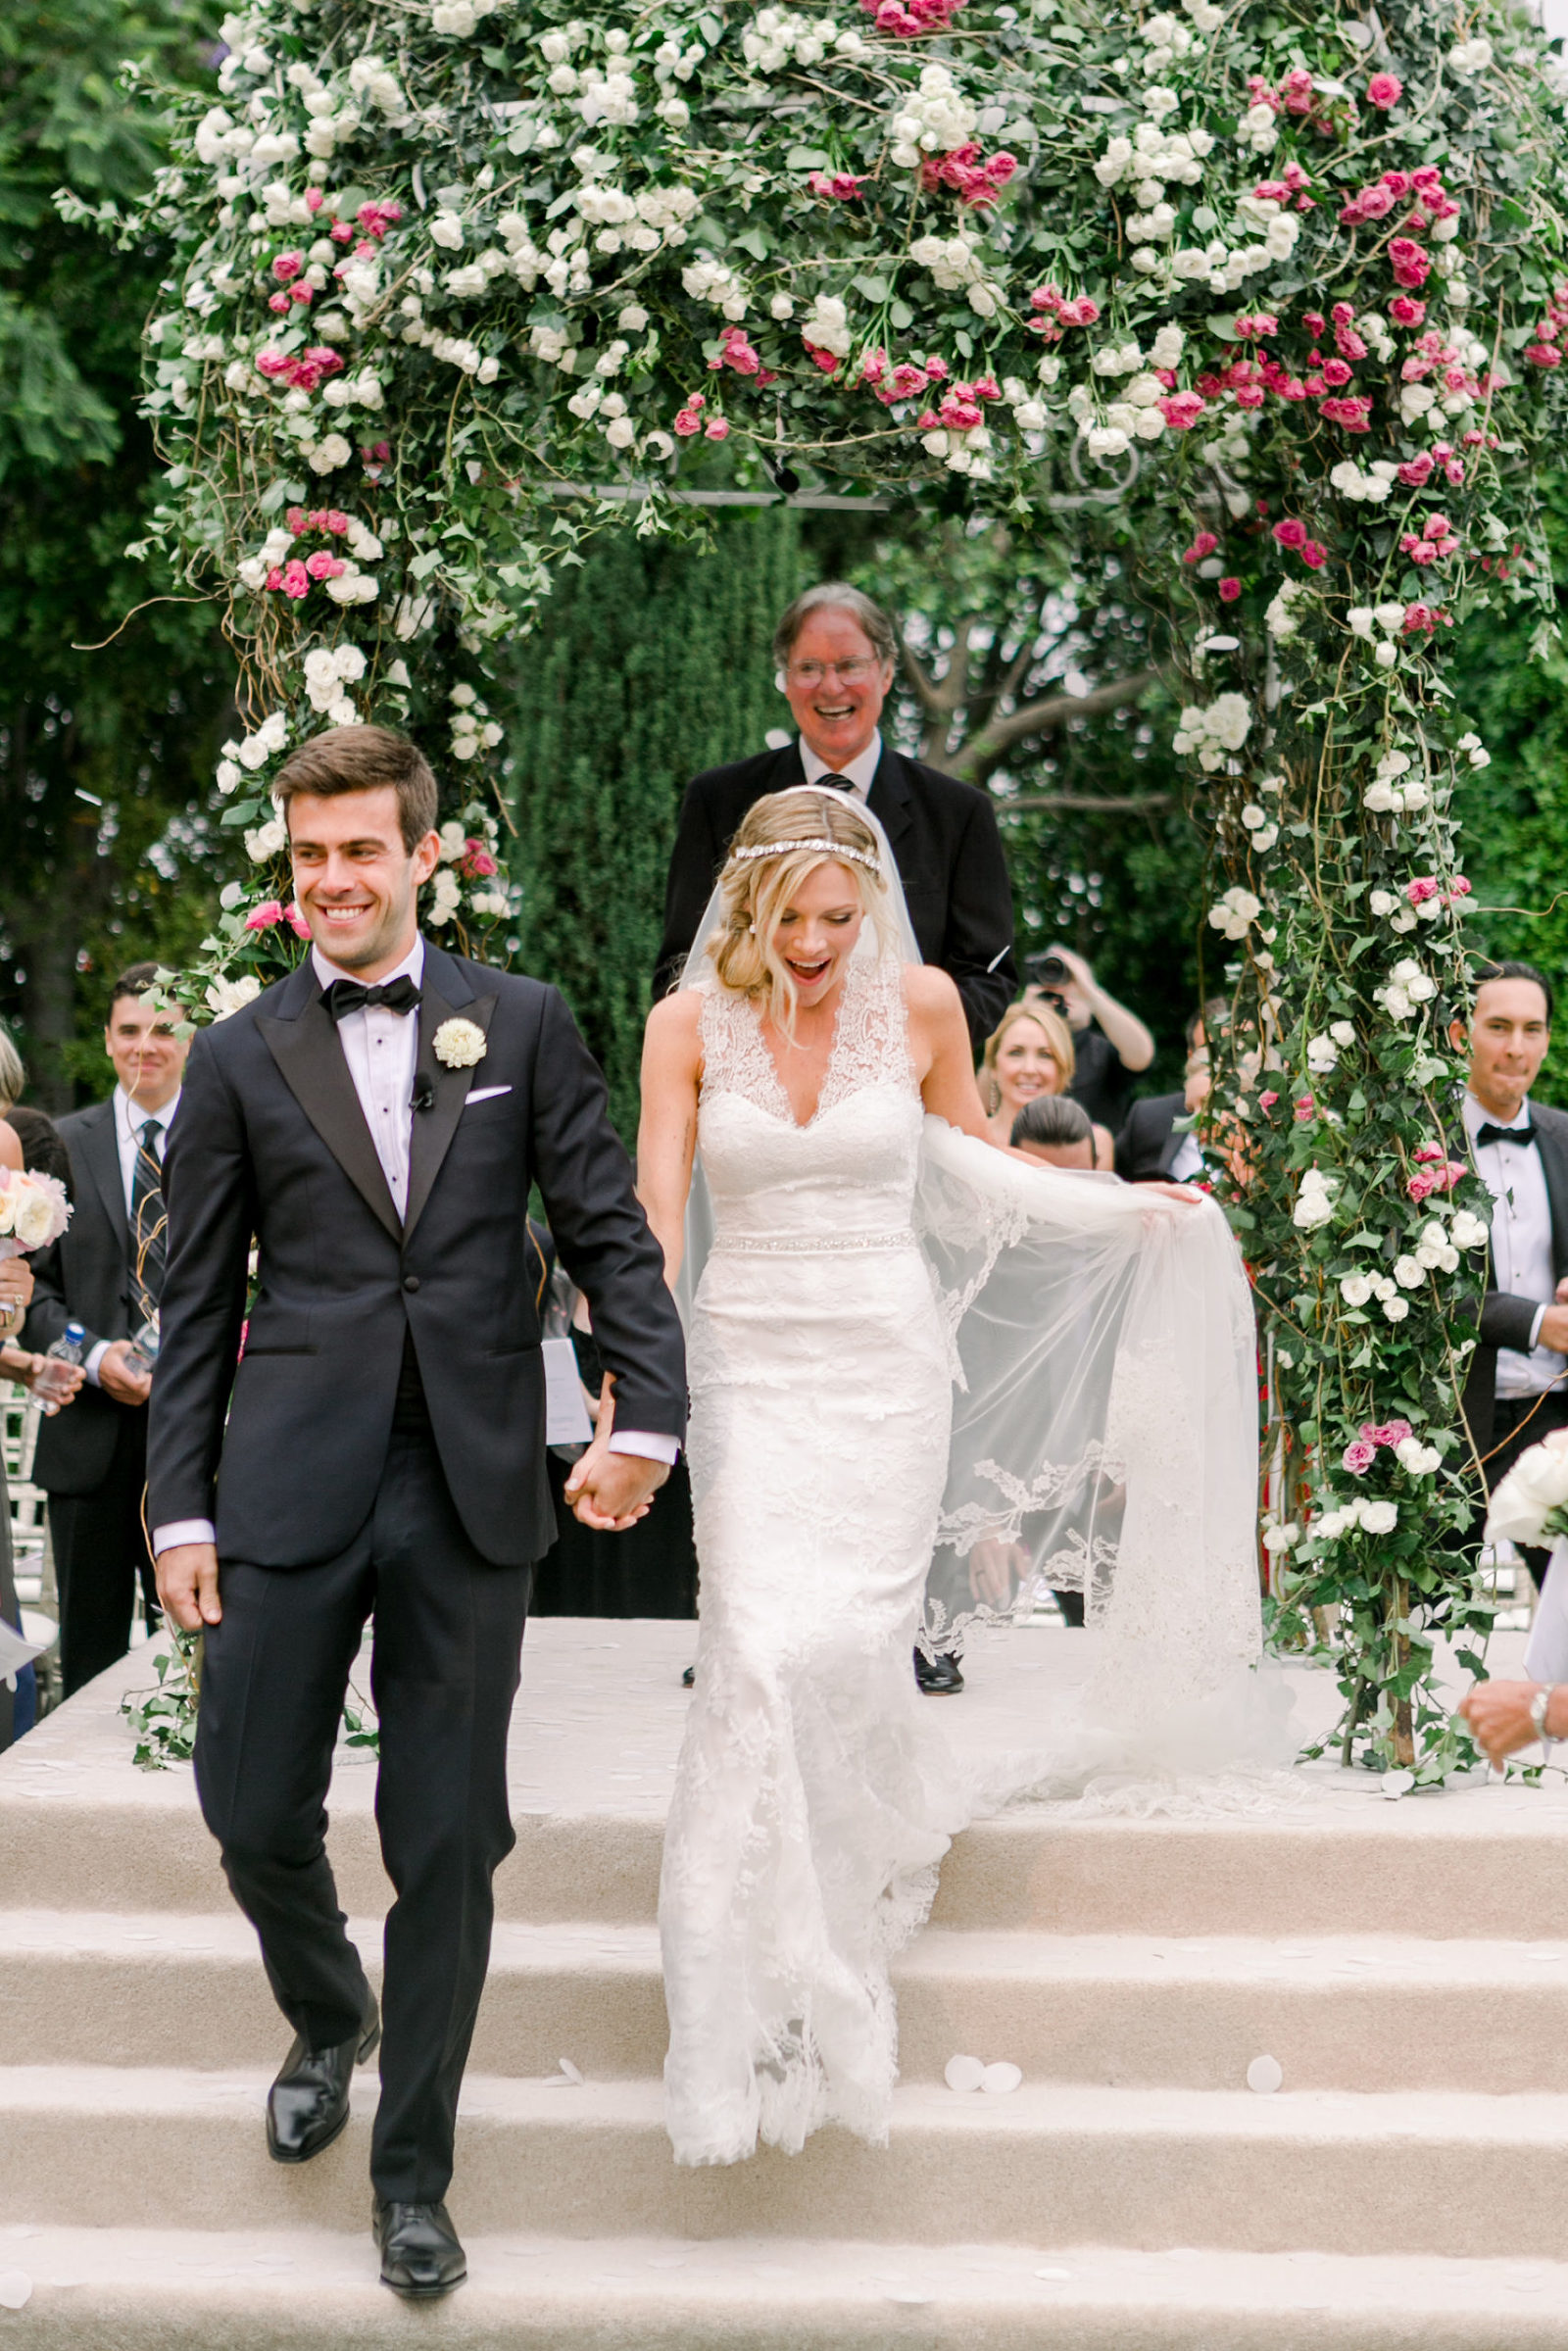
To demonstrate how my images look straight out of the camera, and then how they look after processing, I have included before and afters of each image below. All images shown here were shot on my Canon 5DmkII with my fav lens, the 35mm Æ’/1.4 L. The specific camera settings are listed beneath each “before” image.
1 – Straight out of camera:

Æ’/3.5 | Shutter Speed: 1/100 | ISO: 320
1 – After Processing:

2 – Straight out of Camera:

Æ’/2.8 | Shutter Speed: 1/2500 | ISO: 160
2 – After Processing:

3 – Straight out of Camera:

Æ’/2.2 | Shutter Speed: 1/320 | ISO: 200
3 – After Processing:

4 – Straight out of Camera:

Æ’/3.5 | Shutter Speed: 1/160 | ISO: 200
4 – After Processing:

5 – Straight out of Camera:

Æ’/2.5 | Shutter Speed: 1/160 | ISO: 200
5 – After Processing:

NOTE: I don’t get any sort of compensation or kickback from any of the companies I’ve mentioned in this post- they are just companies or products I use and like and would love to help spread the word.
I hope that was helpful to some of you who have inquired about my processing! I’ll be posting more How I Shoot posts soon.
First up, I have a few engagement sessions as well as some personal images to blog so look for those in the coming weeks. Happy Friday, everyone!


I love this post…thank you for sharing a little bit of what you do! I’ve never used ColorShift, I’ll have to take a look at them! 🙂
Thanks so much for this post! You have a very simple workflow and I love it. That is the one thing I have not been able to cut down on. I tend to process and then re-process again trying different actions. It’s nice to know you use Colorshift by Jesh De Rox because those were the next set of actions I was looking at. Thanks again 🙂
P.S. A ? are you calibrated? thnks
Thank you so much for sharing your work flow. I always wondered why your images look so glamorous. You make all of your subjects look like professional models! I have noticed that your subtle enhancements make all the difference between a very nice photo and a sensational photo. I love your creative compositions, too.
Hi Heather! I’ve been wondering these questions, for your next post could you answer?
1. What’s in your Camera bag? gear, accessories, etc…
2. besides the shootsac, is there any other bag you really like? Kelly moore?
3. your style is soooo cute, and your clients is as well, what do you normally tell them to wear?
4. personal note- how do you curl your hair like that? it’s always gorgeous!!!
PPS: Do you get your lenses cleaned? How often? What do you suggest for lens cleaning?